

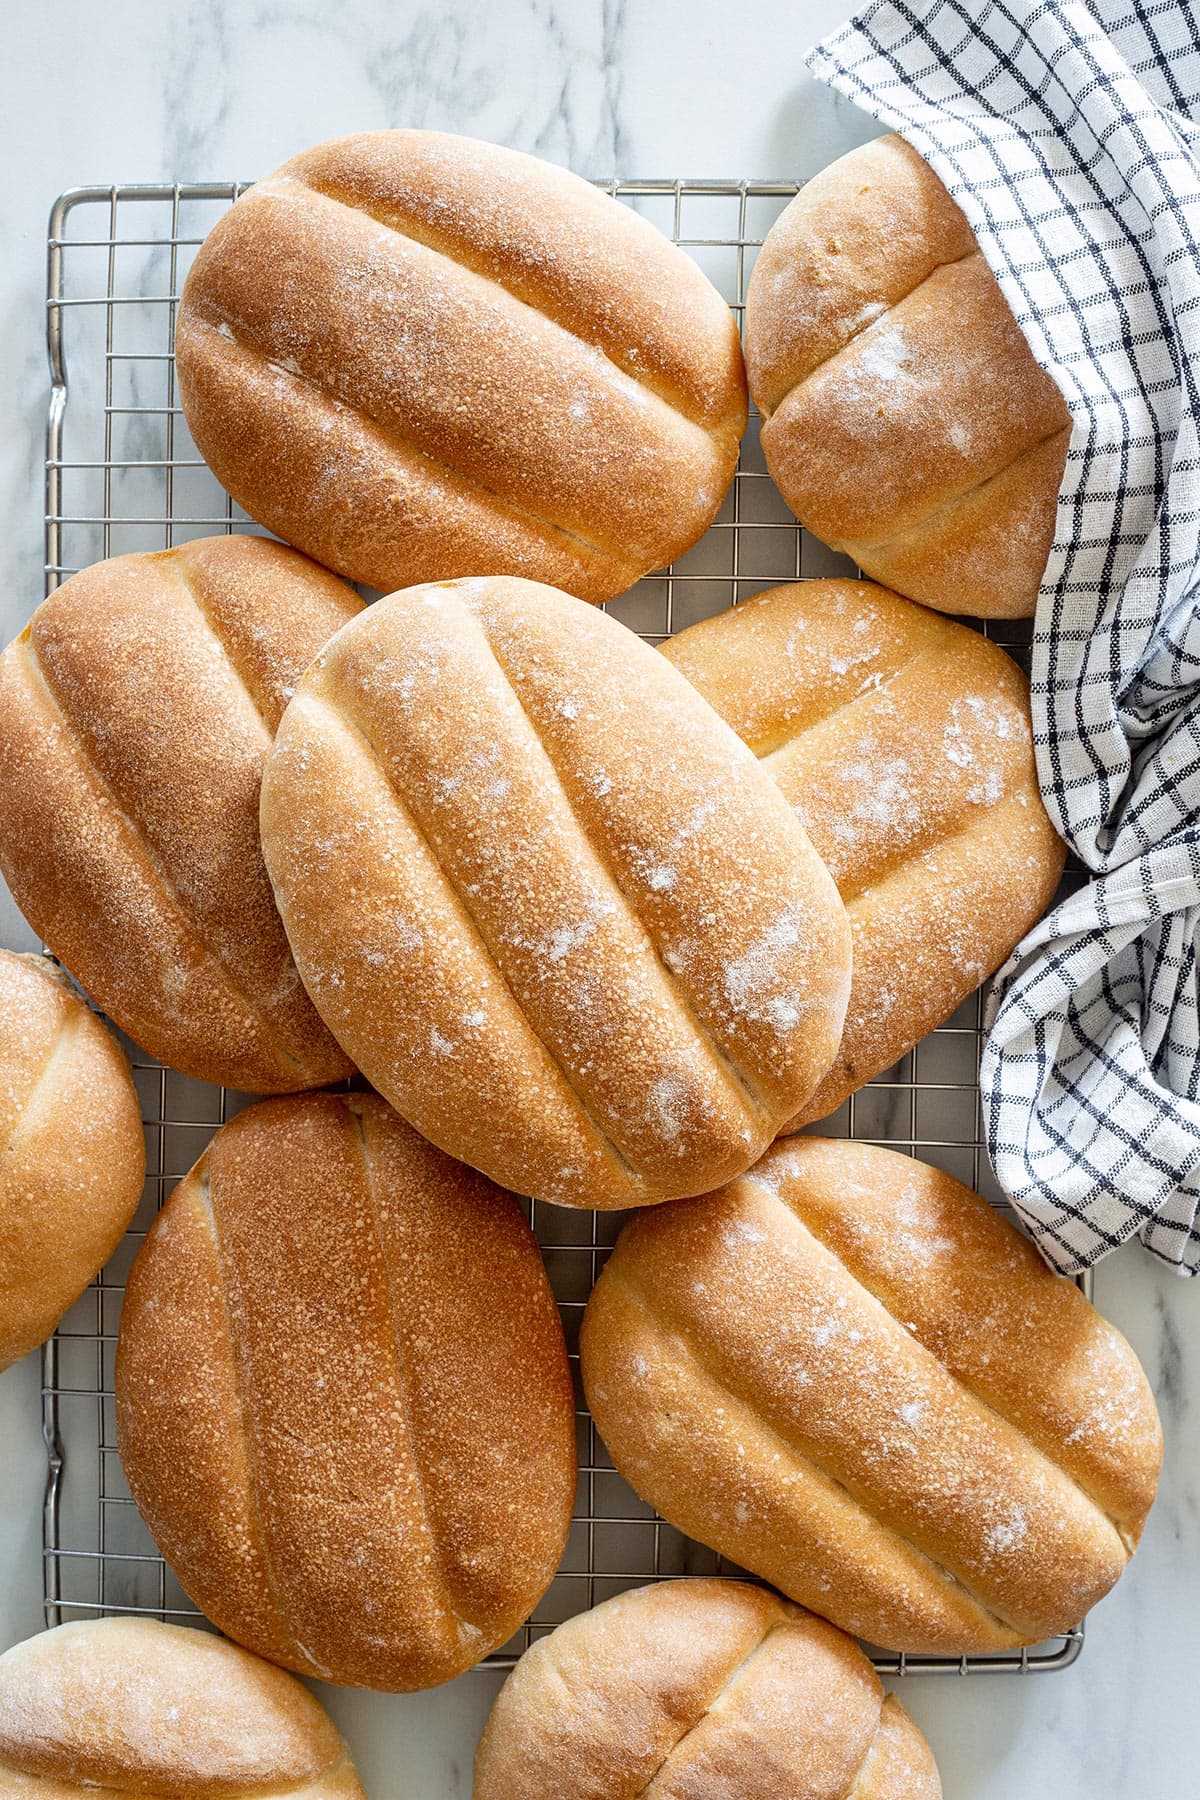
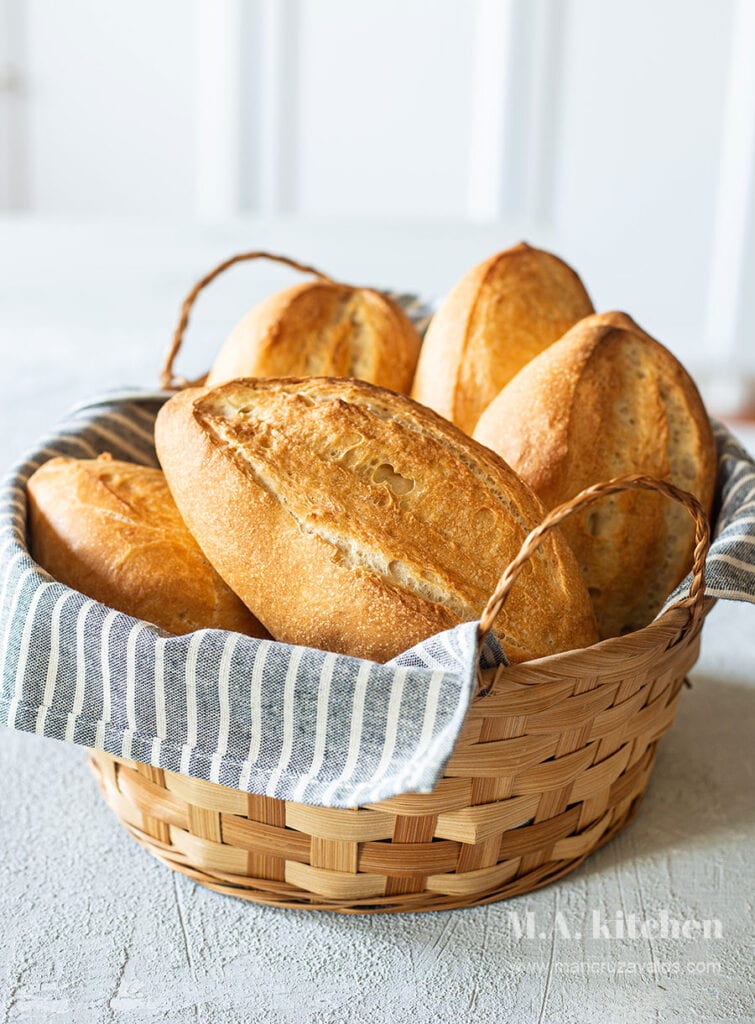
Soft, fluffy, and irresistibly light, telera rolls are the heart of a classic Mexican torta. With their signature oval shape and delicate grooves, these versatile bread rolls are perfect for holding all your favorite fillings.

Telera rolls are not just bread—they are a little slice of home. Soft, light, and oh-so-pillowy, is the kind of bread that gives you a warm hug the moment you touch it. If you’re looking for the perfect partner for a hearty torta (sandwich), this is it.
Now, making telera rolls might sound fancy, but trust me, it’s not. You start with the simplest ingredients—wheat flour, water, yeast, a bit of oil, and salt. Honestly, it’s like bread’s greatest hits.
The magic happens when you take each little dough ball, flatten it gently (like you’re patting a baby’s cheek), and shape it into that iconic oval with two deep grooves on top. A rolling pin works wonders, but a wooden spoon ladle? Oh, that’s the real MVP in my kitchen.
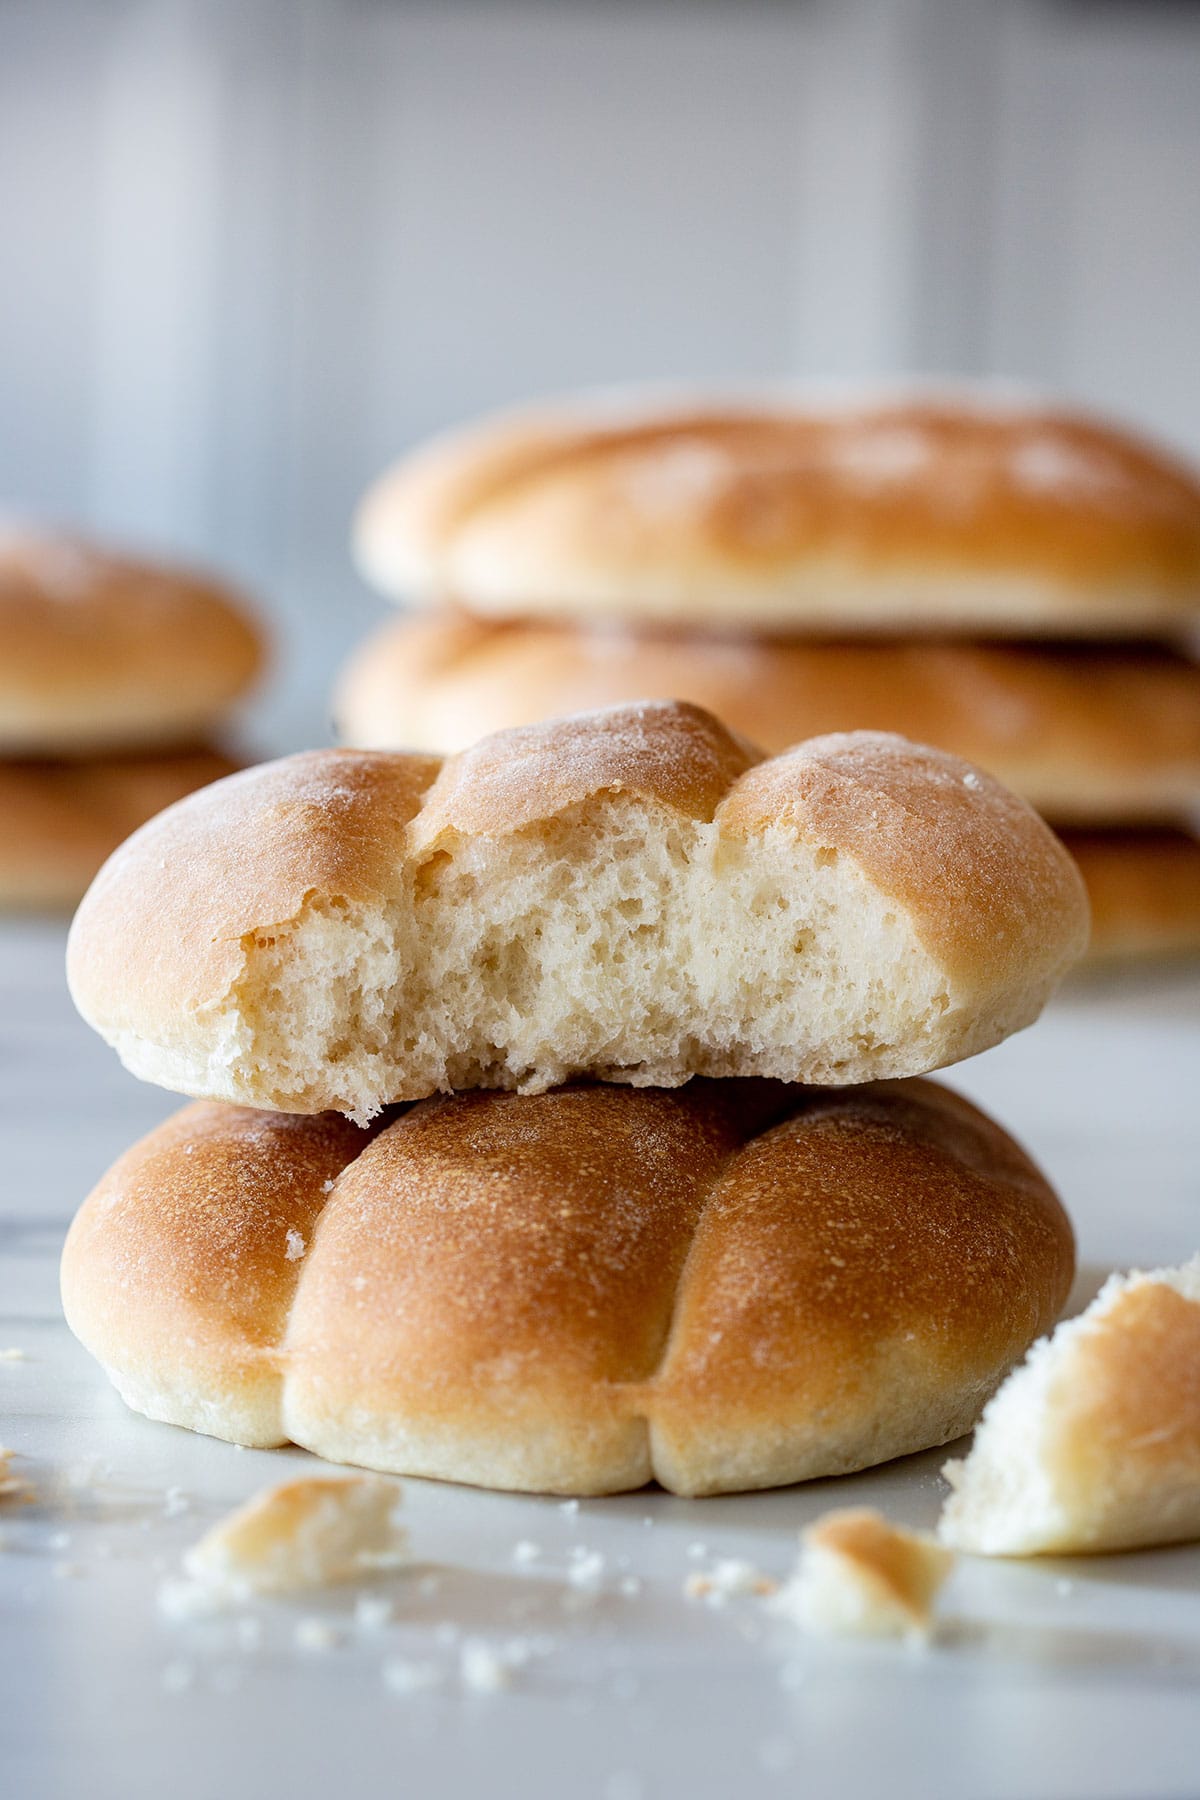
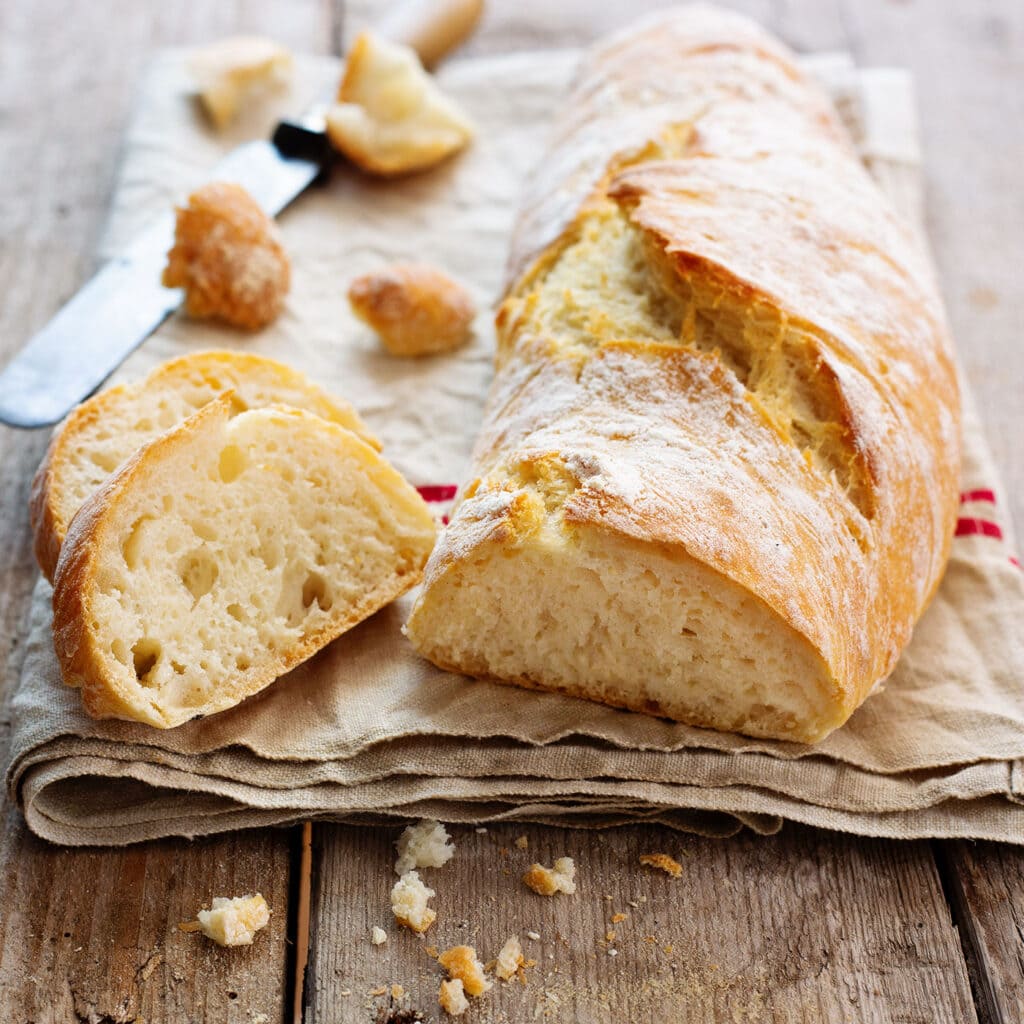
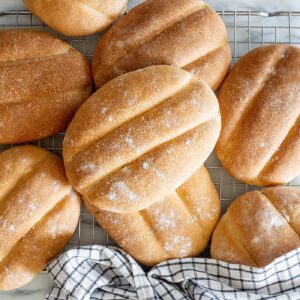
Before they hit the oven, you dust them with a little flour, which gives them that signature, rustic look. And unlike bolillos, which have a tougher crust, these beauties stay soft all over.
They’re so tender, you might find yourself nibbling on one before the torta filling even comes out. Don’t say I didn’t warn you!
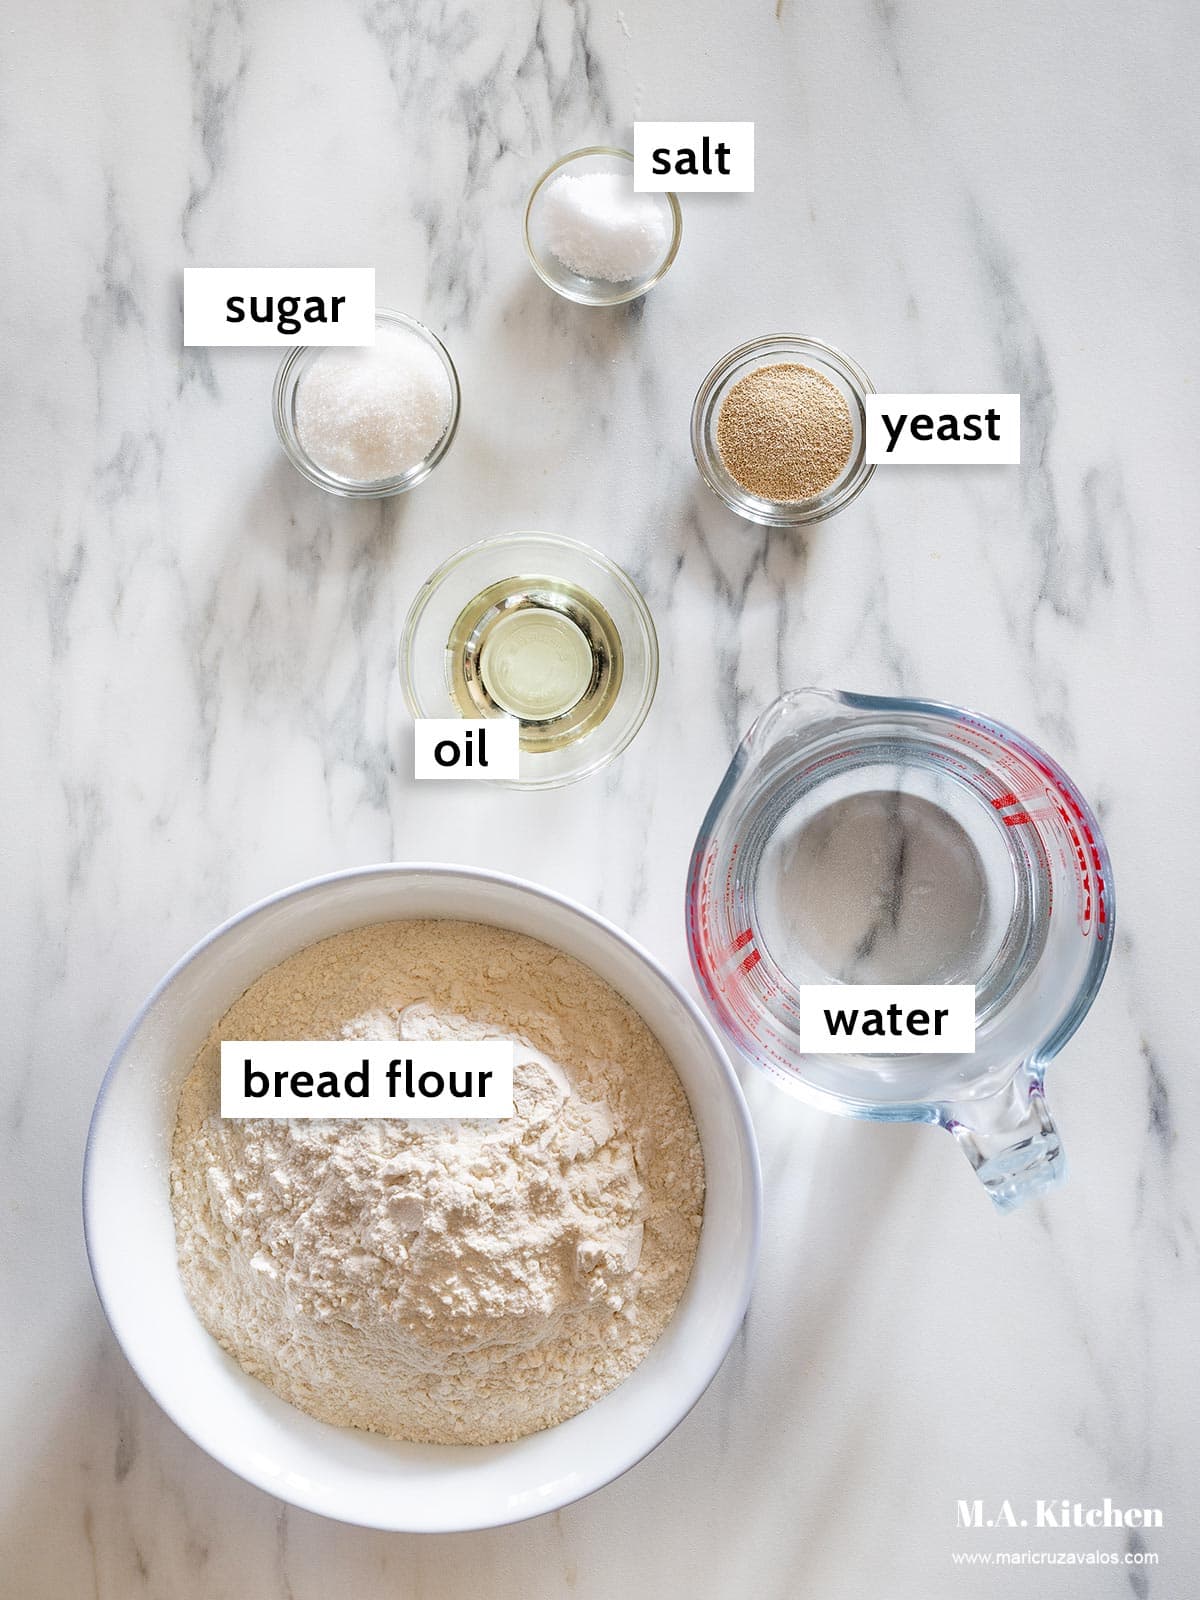
Ingredients
- Flour: I like to use bread flour in this recipe because of the higher protein content. Higher protein means more gluten, which gives the rolls a fluffier bite, chewier texture, and better structure. All-purpose flour will work as well, but the buns won’t rise as much.
- Yeast: Both active dry yeast and instant yeast will work for this recipe.
- Water: Lukewarm water works best to activate the yeast and bind all the ingredients to form a dough.
- Oil: I use vegetable oil for softer and fluffier rolls. Some recipes use melted lard, butter, or vegetable shortening.
- Sugar: Adding a bit of sugar helps speed up the yeast activation process and gives the buns a golden color.
- Salt: A pinch of salt enhances the flavor of the rolls by a lot.
How To Make Telera Rolls Step by Step
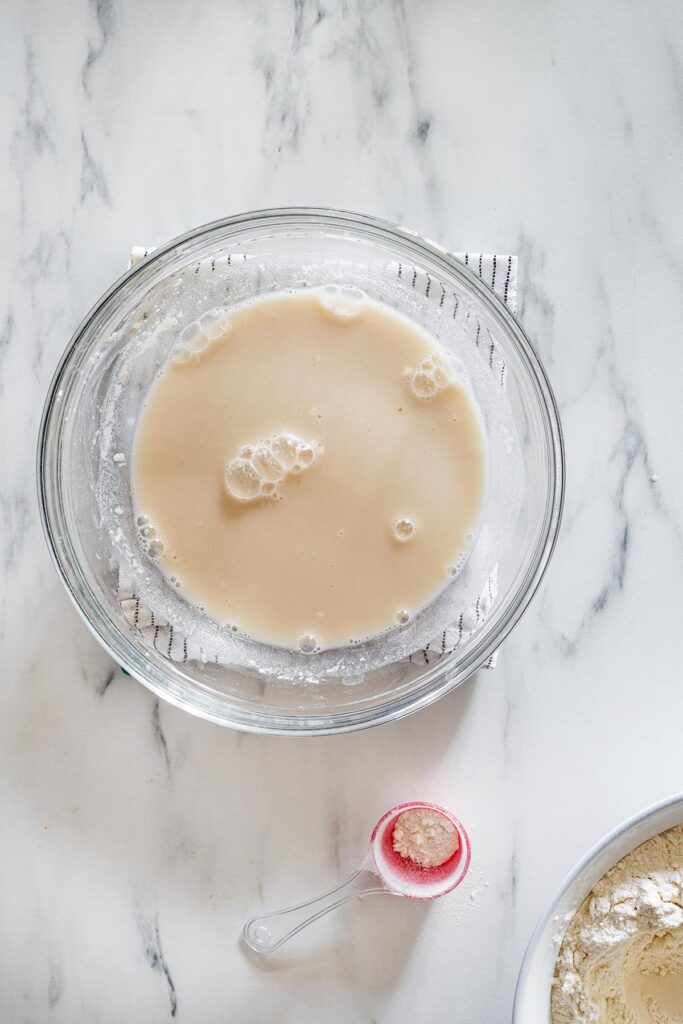
In a medium mixing bowl place 1 cup of lukewarm water, sugar, yeast, and ⅓ cup of flour.
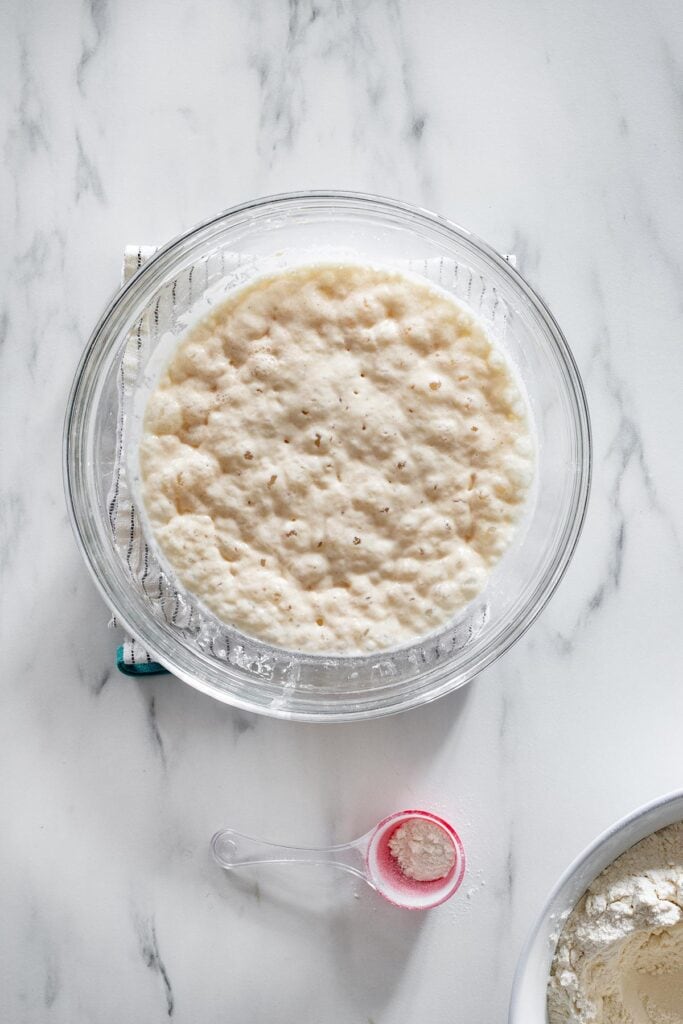
Mix to combine and allow to rest for 10-15 minutes or until the mixture will triple in size and become bubbly and foamy.
In the bowl of a stand mixer place the remaining flour and water.
Add oil and salt and mix for 2 minutes or until the ingredients are slightly combined.
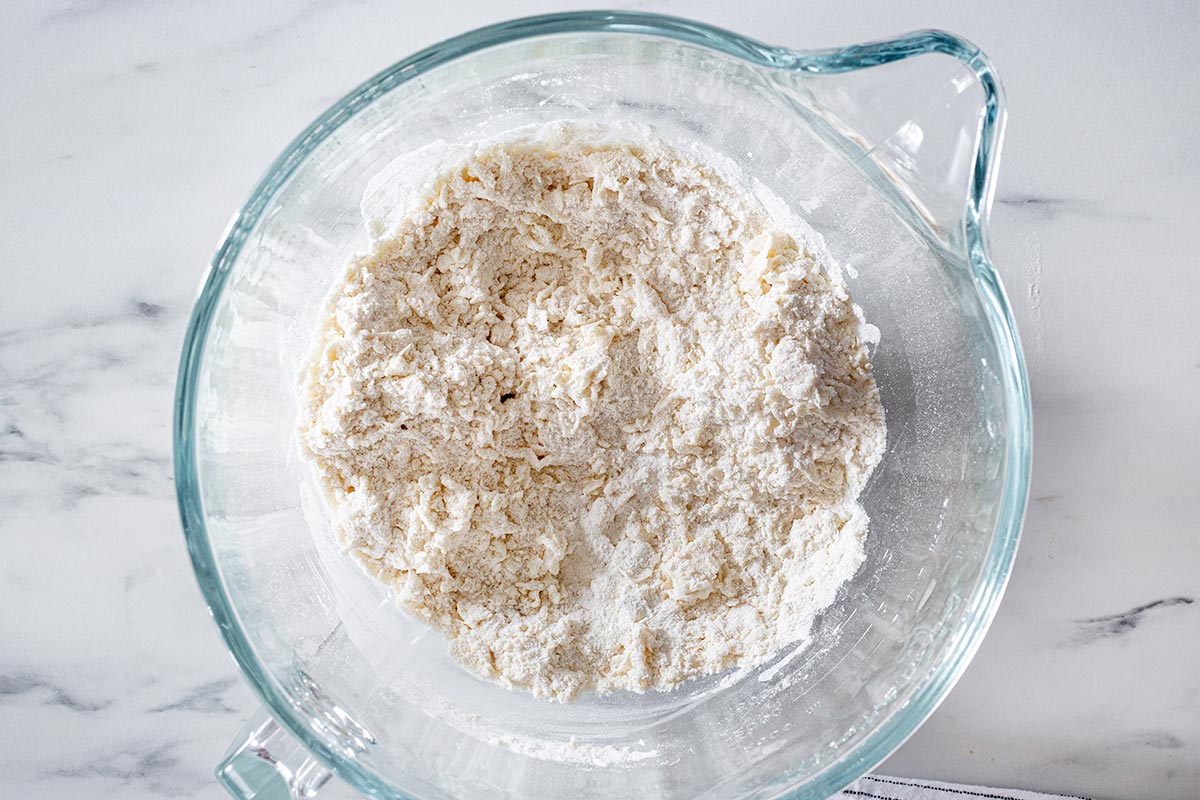
Add to the bowl the yeast starter and use the hook to knead for 6-7 minutes at medium speed until the dough is nicely elastic and doesn’t stick to the bowl sides.

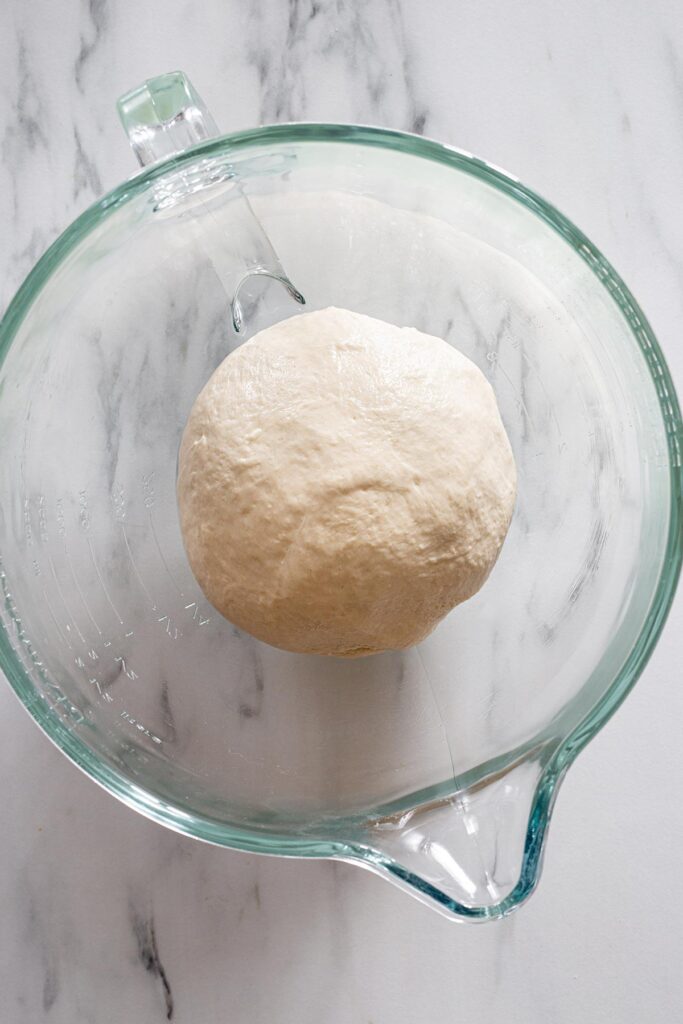
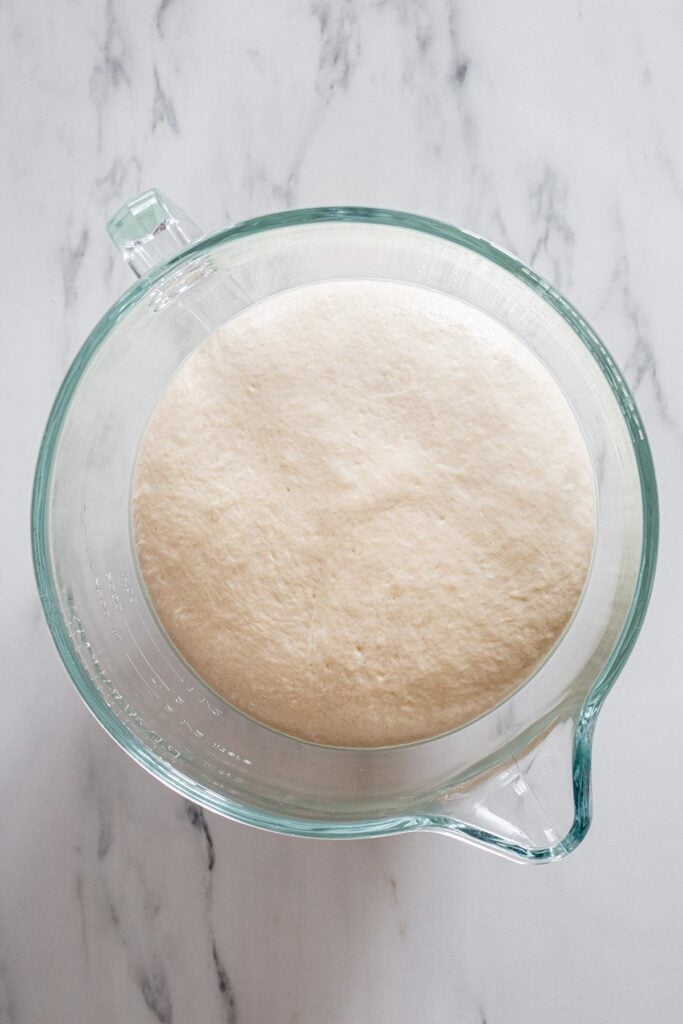
Slightly oil your hands and form a ball with the dough, place it in a greased large bowl and let it rest in a warm environment until it doubles in size.
After the resting time, lightly flour your hands and punch the dough to release the gas.
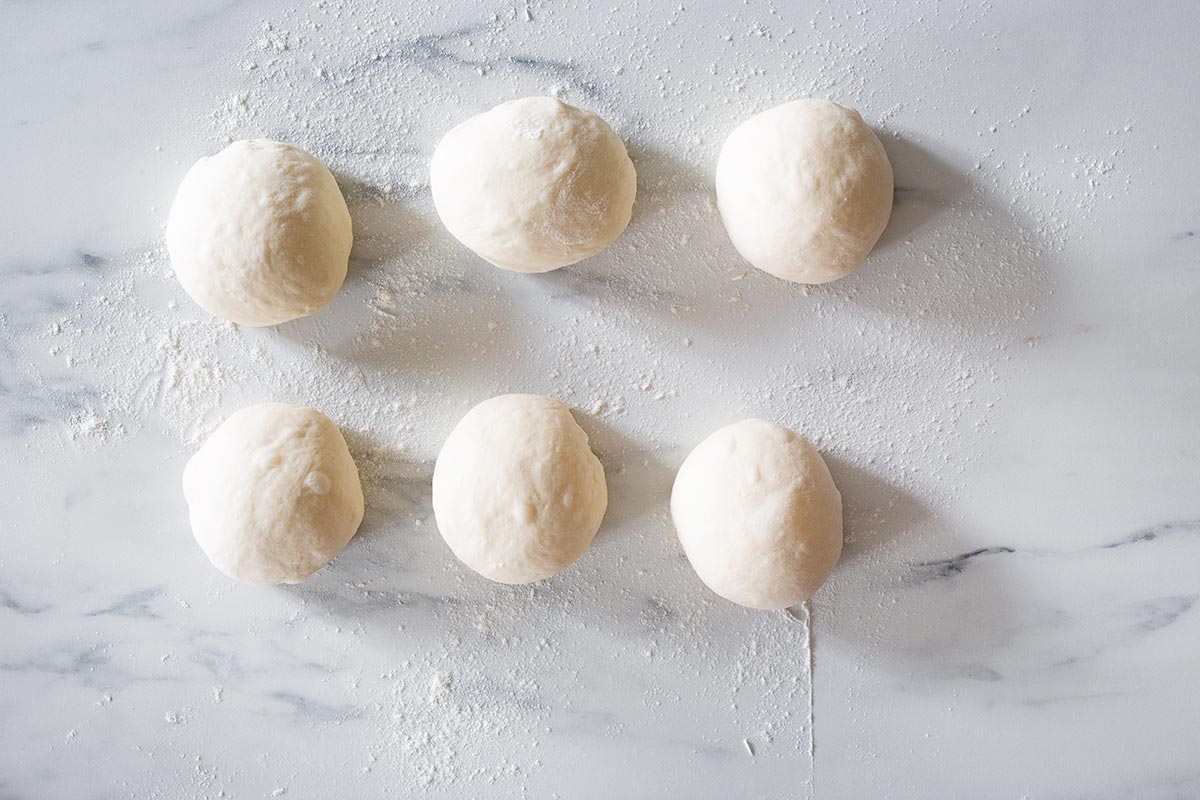
Transfer the dough to a floured working surface and then divide it into 6 equal pieces.
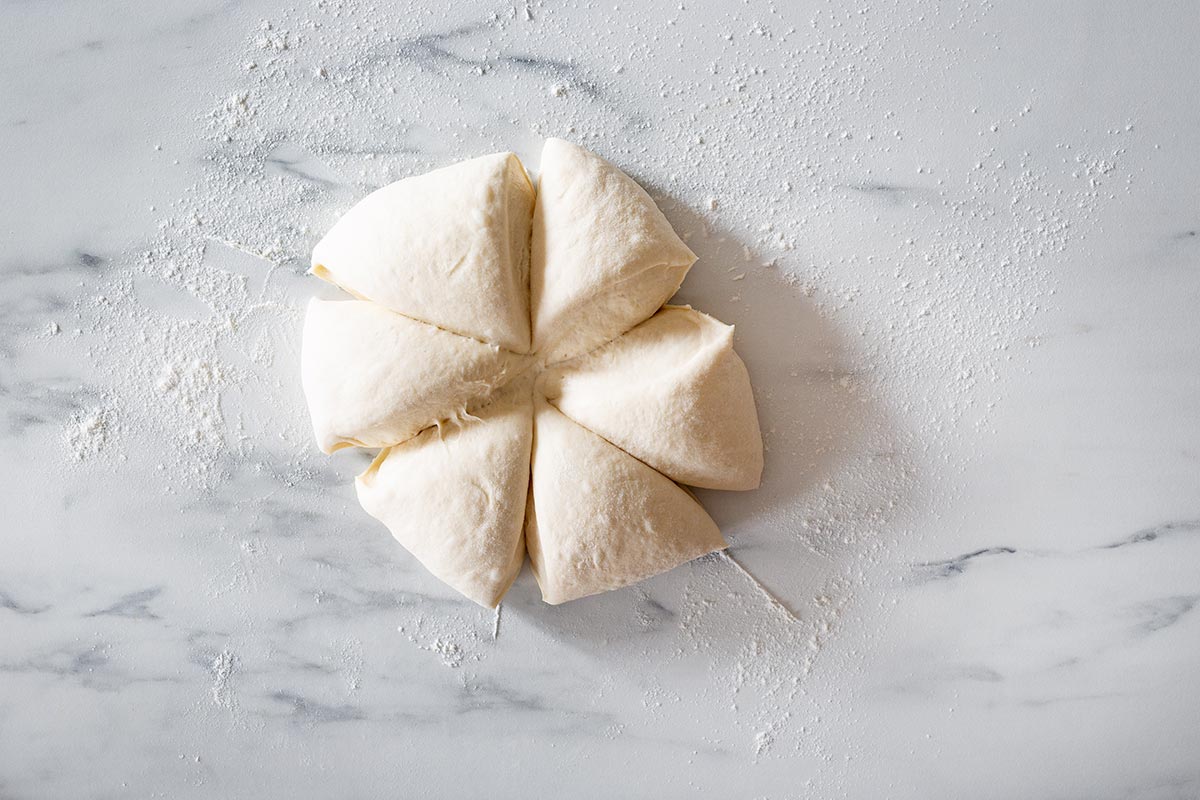
Make dough balls and place them on a floured surface. Dust them with flour and cover them with cling film. Rest for 15 minutes.
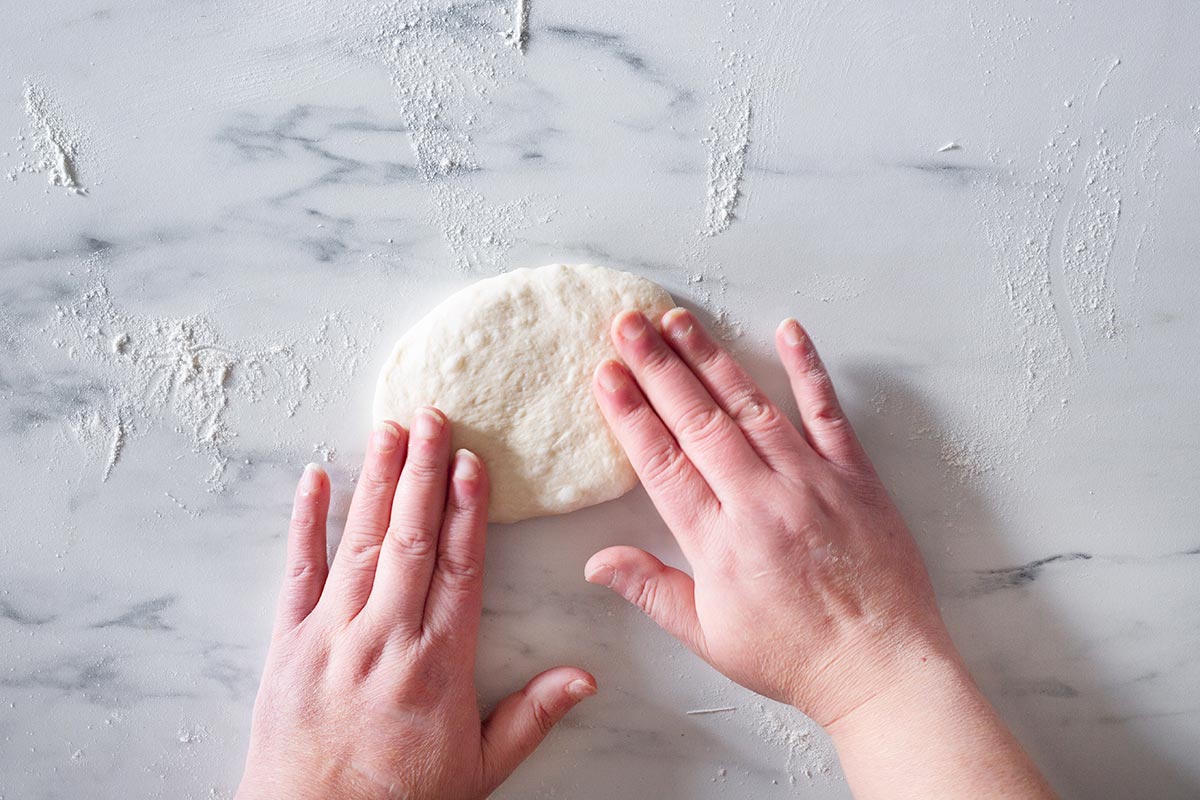
Flour your working surface, take one dough ball, and flatten it a bit with your hands to give the dough an oval shape.
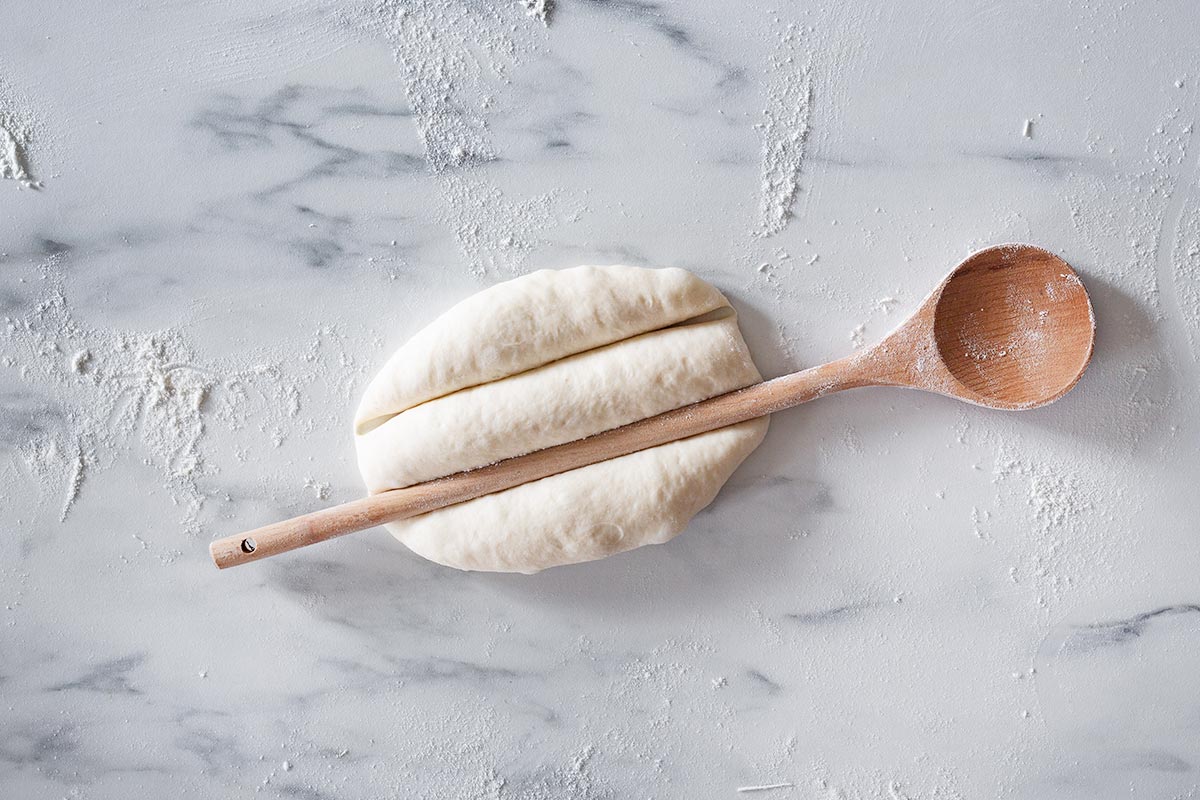
Now, use a thin rolling pin or a wooden spoon handle to make two deep marks on the top, pressing almost all the way through but without cutting the dough.
This will create the classic telera rolls shape with its three long sections.
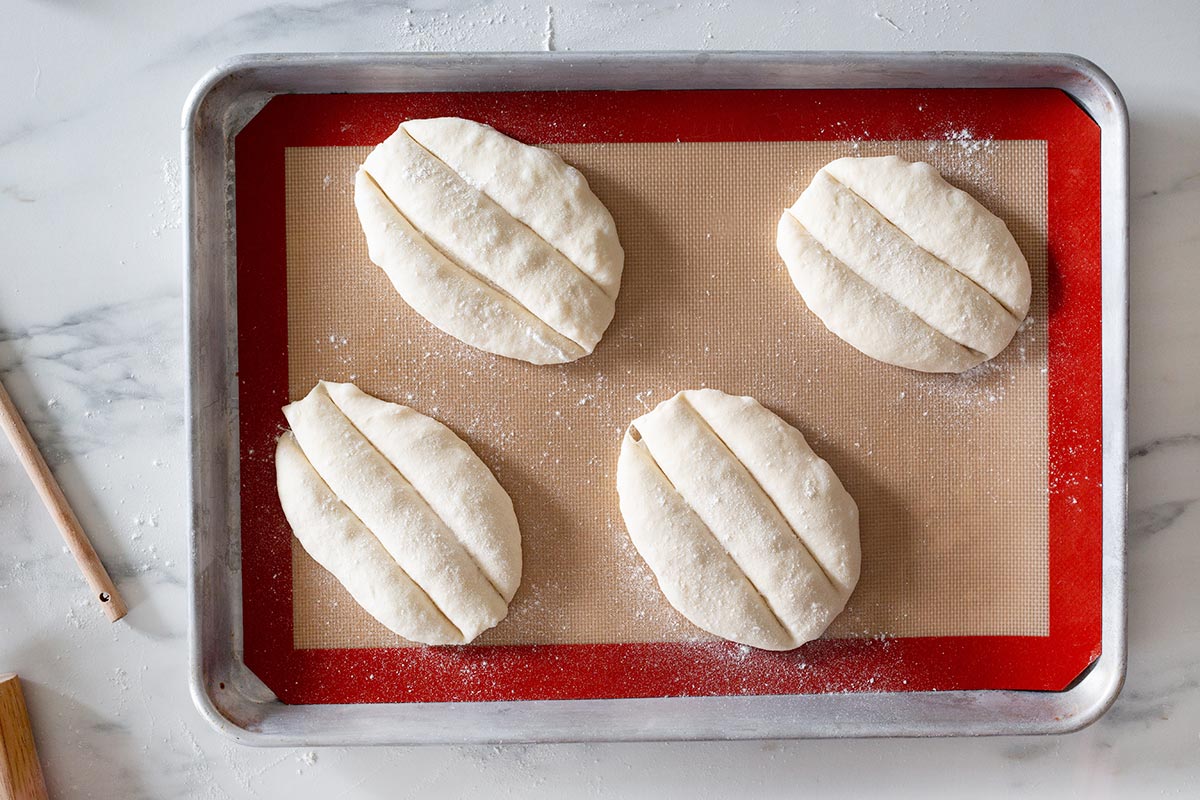
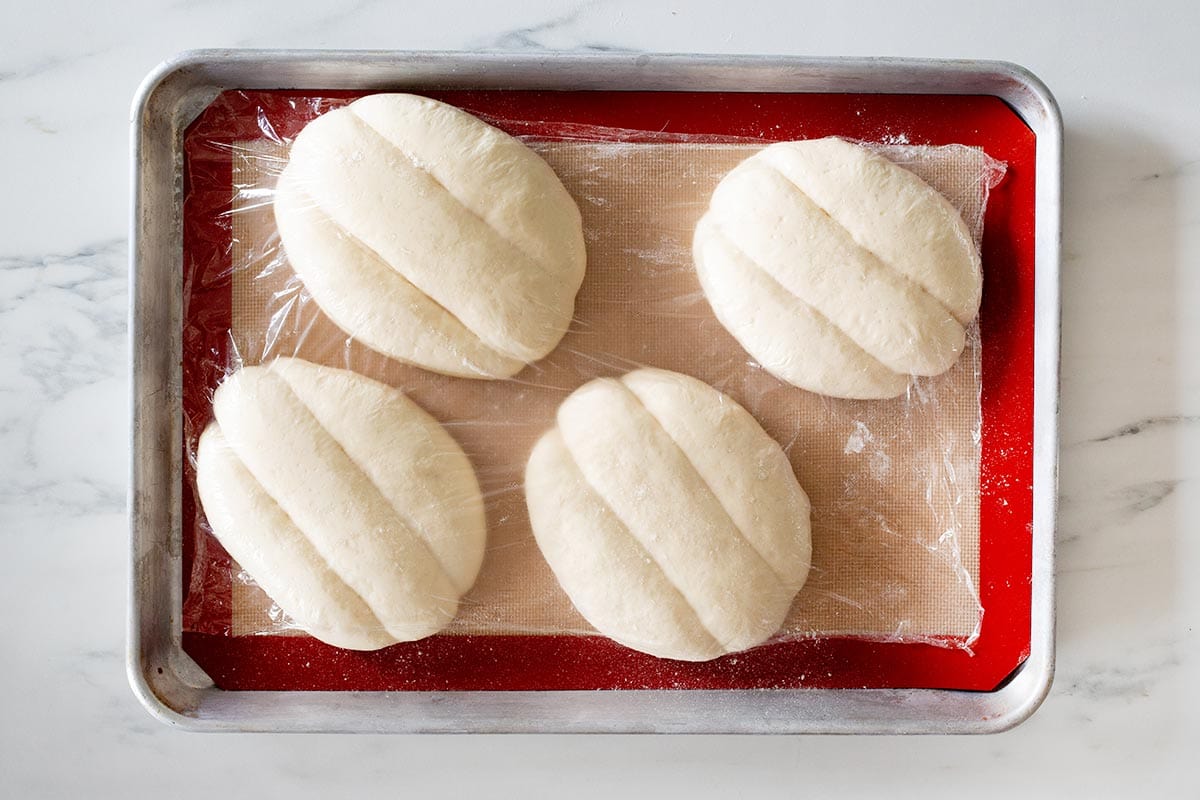
As you shape them, place the unbaked buns on a floured baking sheet and repeat the steps with the remaining dough balls.
Pro Tip: Make sure you place the buns at least 2 inches apart from each other so they won’t stick when they raise.
Slightly dust the buns and cover them with cling film or with a clean kitchen towel. Let them rest for 30 minutes or until almost doubled in size.
Preheat your oven to 400°F/200°C.
Carefully remove the cling film and bake the rolls for 15 to 18 minutes or until nicely golden brown.
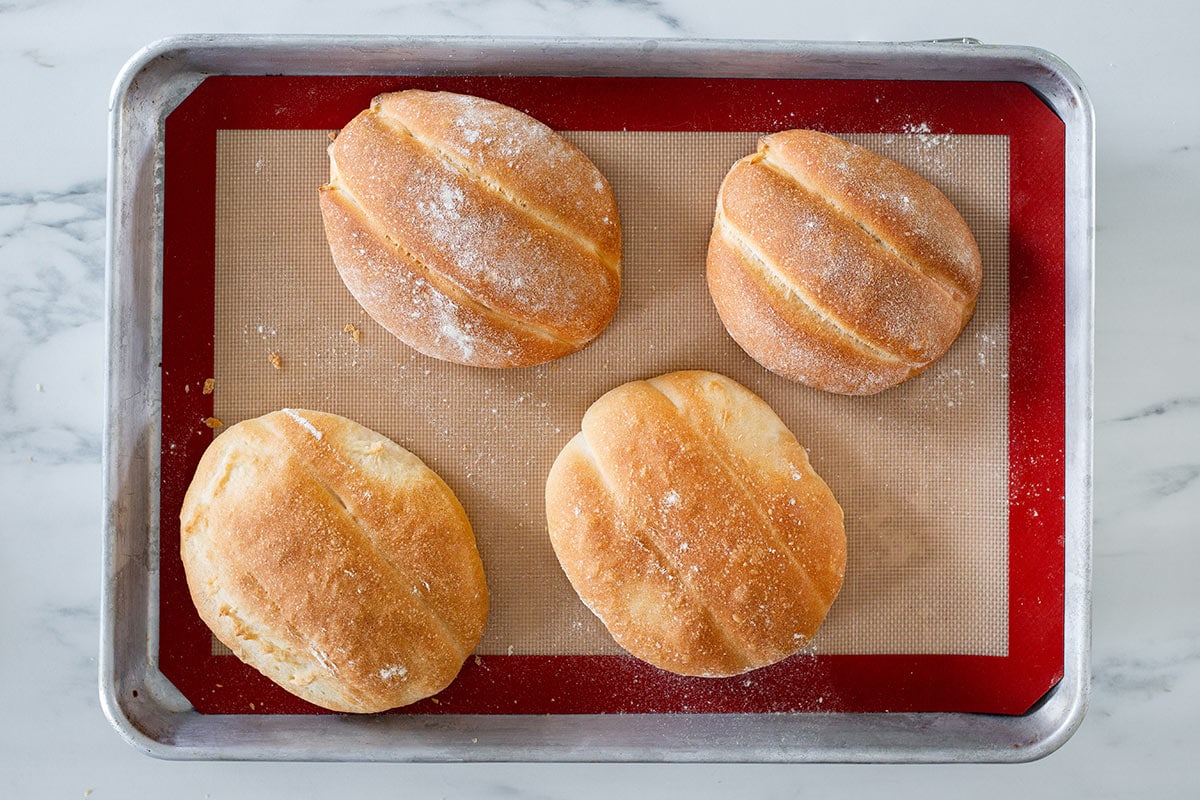
Once done, transfer all baked rolls to a wire cooling rack and allow them to cool down completely.
Useful Notes
- Add a little bit more water or flour to get the perfect dough consistency. Remember to do it in small increments.
- The dough may not rise properly if it’s too cold. To ensure a good rise, let the dough proof in the warmest room at your house or you can turn on the lights in your oven and use it as a proofing camera.
- Don’t skip any of the resting and proofing steps as they are essential for that classic texture—soft, light, and fluffy.
- Dust the tops of the buns with a bit of flour before baking for a nice contrast with the crust.
Serving Suggestions
- Despite their soft crumb, these buns can carry all the ingredients of the classic torta de chorizo or of this rich torta cubana made with breaded pork, sausages, ham, and cheese.
- Make some pambazos by coating the soft telera rolls with guajillo sauce and stuffing them with chorizo, diced potatoes, lots of queso fresco, and your favorite salsa.
- Fill your rolls with heaps of chilorio and don’t forget to stuff some pickled onions and salsa.
- Not a fan of pork? Tinga de pollo is a delicious shredded chicken dish cooked in a chipotle sauce that would be perfect to stuff into these savory rolls.

Storage
You can store the leftover telera rolls from 3 to 5 days on your countertop in an airtight container. You can also wrap each roll tightly with cling film and store them in the freezer for up to 3 months.
Once ready to eat, thaw the buns overnight at room temperature and briefly reheat them in the oven at 390°F/180°C for 10 minutes.
More Bread Recipes
Hope You liked this typical Mexican bread recipe. Let me know below in the comments if you made it and how it turned out! Remember also to rate the recipe and follow this blog on Pinterest, Instagram, YouTube, and Facebook.
Video
Teleras Rolls
Ingredients
- 3 ½ cups bread flour
- 2 ¼ tsp yeast
- 1 ⅓ cups lukewarm water
- 1 ½ Tbsp vegetable oil
- 4 tsp sugar
- ½ Tbsp salt
Instructions
Make the starter
- Place 1 cup lukewarm water, sugar, yeast, and ⅓ cup of flour in a medium bowl.
- Mix to combine and allow to rest for 10-15 minutes or until the mixture will triple in size and become bubbly and foamy.
Make the dough & proof
- In the bowl of a stand mixer place the remaining flour and water. Add oil and salt and mix for 2 minutes or until the ingredients are slightly combined.
- Add to the bowl the yeast starter and use the hook to knead for 6-7 minutes at medium speed until the dough is nicely elastic and doesn’t stick to the bowl sides.
- Slightly oil your hands and form a ball with the dough, place it in a greased large bowl and let it rest in a warm environment until it doubles in size (about 1 hour).
Shape & proof the rolls
- After the resting time, lightly flour your hands and punch the dough to release the gas.
- Transfer the dough to a floured working surface and then divide it into 6 equal pieces.
- Make dough balls and place them on a floured surface. Dust them with flour and cover them with cling film. Rest for 15 minutes.
- Flour your working surface, take one dough ball, and flatten it a bit with your hands to give the dough an oval shape.
- Now, use a thin rolling pin or a wooden spoon handle to make two deep marks on the top, pressing almost all the way through but without cutting the dough.
- As you make them, place the unbaked buns on a floured baking sheet 2 inches apart from each other, and repeat the steps with the remaining dough balls.
- Slightly dust the buns and cover them with cling film or with a clean kitchen towel. Let them rest for 30 minutes or until almost doubled in size.
Bake
- Preheat your oven to 400°F/200°C. Carefully remove the cling film and bake the rolls for 15 to 18 minutes or until nicely golden brown.
- Once done, transfer all baked rolls to a wire cooling rack and allow them to cool down completely.
Notes
- The dough may not rise properly if it’s too cold. To ensure a good rise, let the dough proof in the warmest room at your house or you can turn on the lights in your oven and use it as a proofing camera.
- Don’t skip any of the resting and proofing steps as they are essential for that classic telera texture—soft, light, and fluffy.
- Teleras last up to 5 days on your countertop in an airtight container. You can also wrap each roll tightly with cling film and store them in the freezer for up to 3 months.
As soon as I saw your recipe in my feed I went and made it because I had all ingredients in my pantry, I must say it was easier than it looked and I am now enjoying soft and warm telera rolls right in my kitchen with a large cup of cafe con leche. Thank you so much for bringing so many memories from my childhood!